Remember this box of loot I showed you a few days ago?
I said I'd wait and you could go through it with me,
so here we go!

This is the tin you can see in the box.
Full of buttons!!

I spread a few out so you could see them.
Not sure what those fan things with the jewels are for,
but I sure do like them!
There are mother of pearl buttons in there,
and even a few square ones, which I had not seen before.
(are they still Mother of Pearl if they are square?)
See any you like?

Here are more goodies.
That old office stamp is heeeeaaaaavy!
Sure would not want to lift that all day.

Old prism, fabric cutter?, and tape measure stick.
(or whatever you call them.)
I have my granddad's too.
You will not see his in the store. =0

Some silver, old framed postcards,
and an old Rook game.
 Isn't this old crow on the cards great?
There is more to show you form the box of goodies,
but I'm saving some for another day.
(like Vintage Black Friday!)
~~~~~~~~~~~
This is a little bit from my thriftin' today.

This rusty, patina basket has no bottom.
My sweet fella looked at me like I was nuts
when I asked the clerk for the price.
He said one dollar.
Just what I had in mind.
But the other clerk said she would have only charged .49 for it,
so that is what I got it for.
My husband still thinks I'm nuts to buy a basket with no bottom in it.
Anyone guess what is going in it???!
(coming soon!)

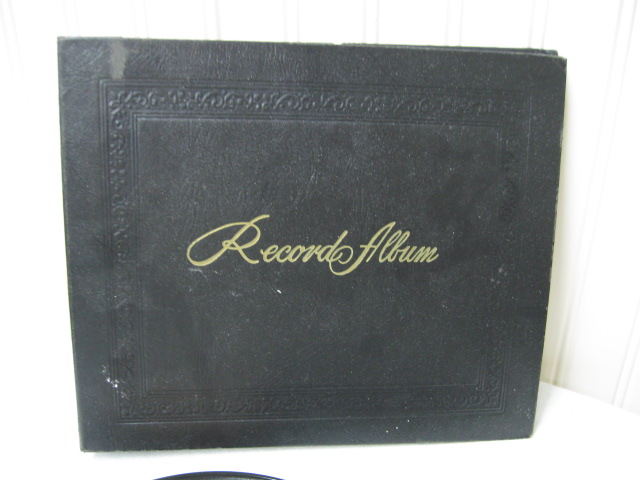
This is the inside of the wedding album from a few pics back.
Love the shapes of the mats.
They will be so cute with an old vintage pic in them,
and all trimmed up.

The book on the right two pics back is an altered art book.
It is OK, but not quite me,
so I will get to tweak it a bit. =0)
~~~~~~~~~~~~~~~~~
Here are a couple of easy, and inexpensive treasures for you to make.
The first one I call
Buckle Artsupplies: Black frame, fabric or paper, black ribbon, buckles.
Cover cardboard with fabric or paper.
Slide buckles onto black ribbon.
Glue down.
Slide into frame.
Done!!

~~~~~~~~~~~~~~
This second piece has the saying:
"The key to knowing God is His Word."(sold)
First I covered cardboard with music paper.
Since this would be black and white tones,
instead of my usual browns,
I 'aged' my paper with black acrylic paint.
(or you can use ink).
I used glue stick to glue music paper to the cardboard.
I printed my saying out on the computer,
leaving a space for a real key.
(Takes some time to figure out size, but you can do it!)
Mine is glued to a wood cross I made, but you could also use cardboard.

I glued the key to the cross,
and glued the cardboard into the frame.
Another project done!!
These projects are fairly quick, and certainly inexpensive!
Those of you who create, know the time is in the planning,
creating, and figuring out the details.
I hope all of you will enjoy the fruits of our labor.
I'm joining these special hostesses today.
Please go by and check them out.
Blessings,
Barbara Jean










 Isn't this old crow on the cards great?